Step 10.
It’s time to attach the bonnet to the chassis!
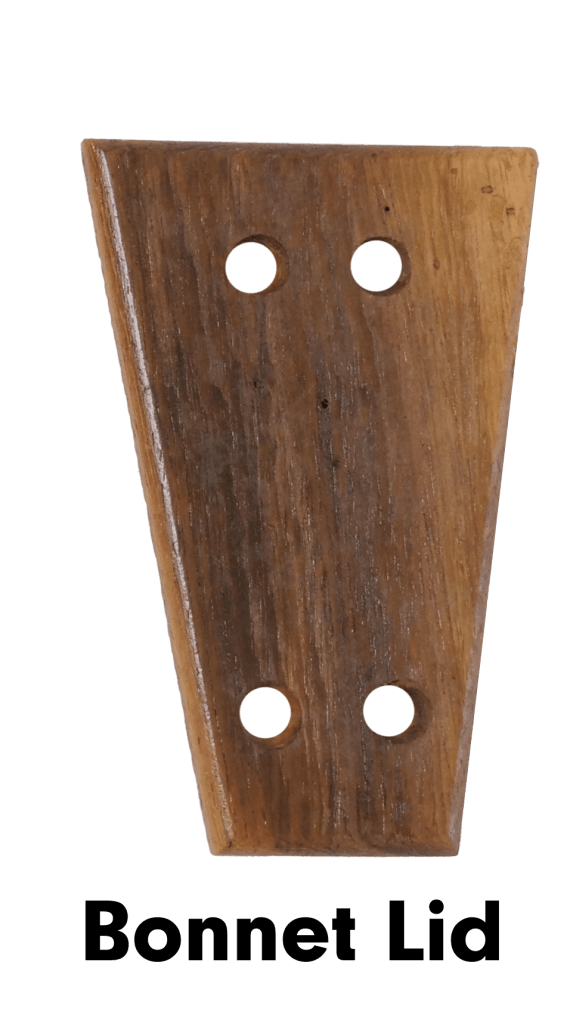
Identify and place the bonnet lid piece onto the bonnet and screw together, simultaneously securing the completed bonnet to the chassis.
The bonnet lid piece is pictured below:
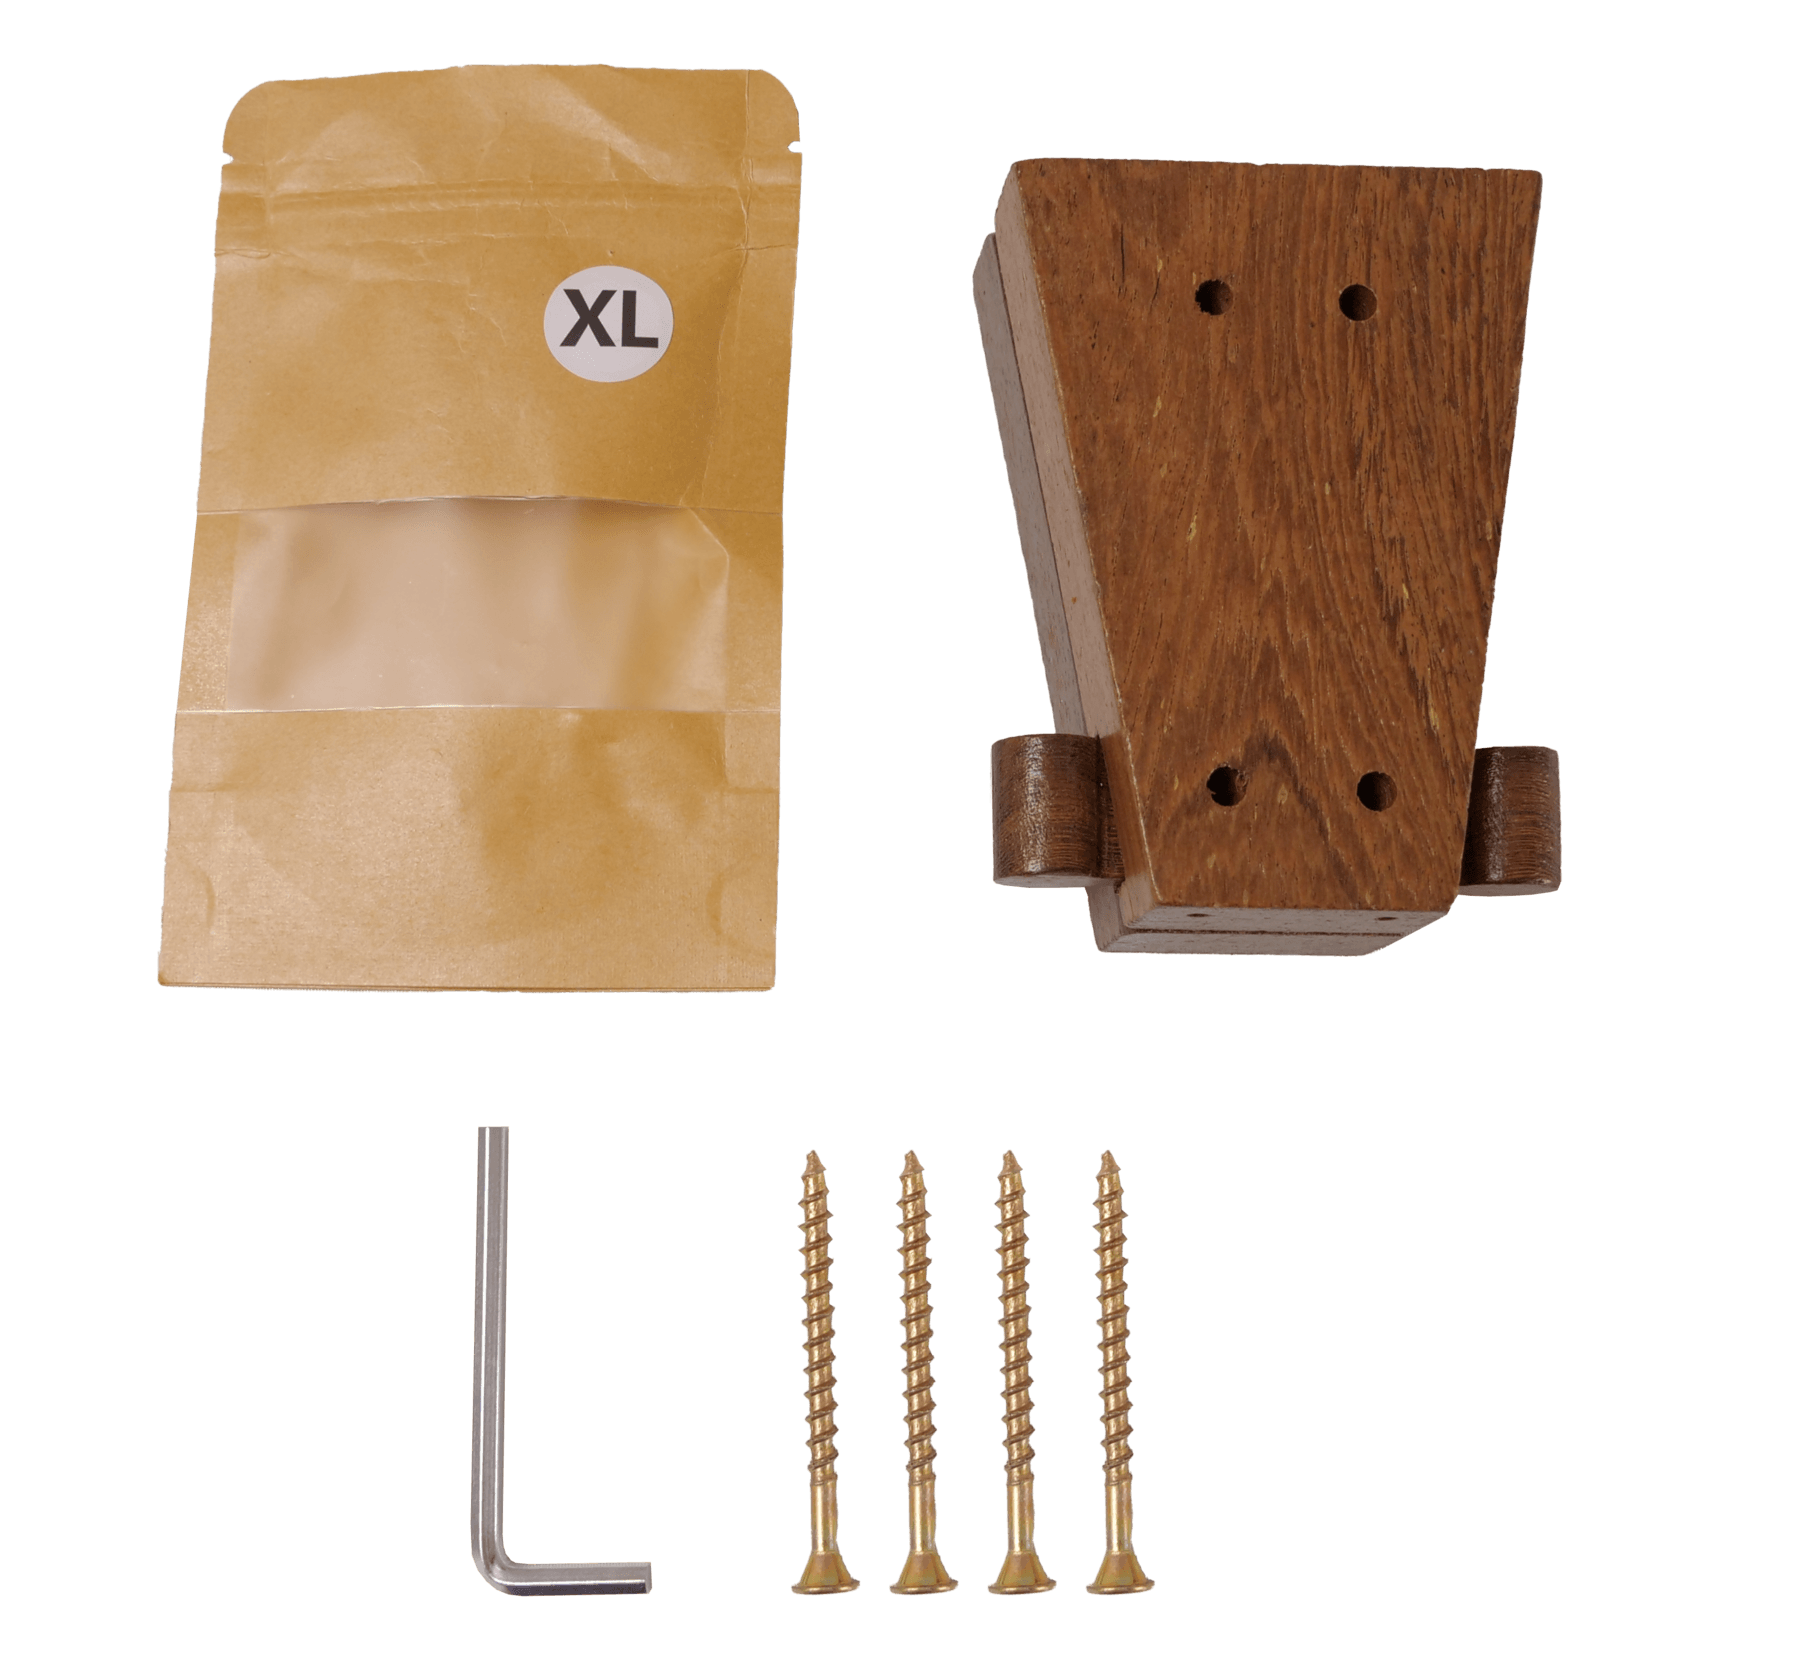
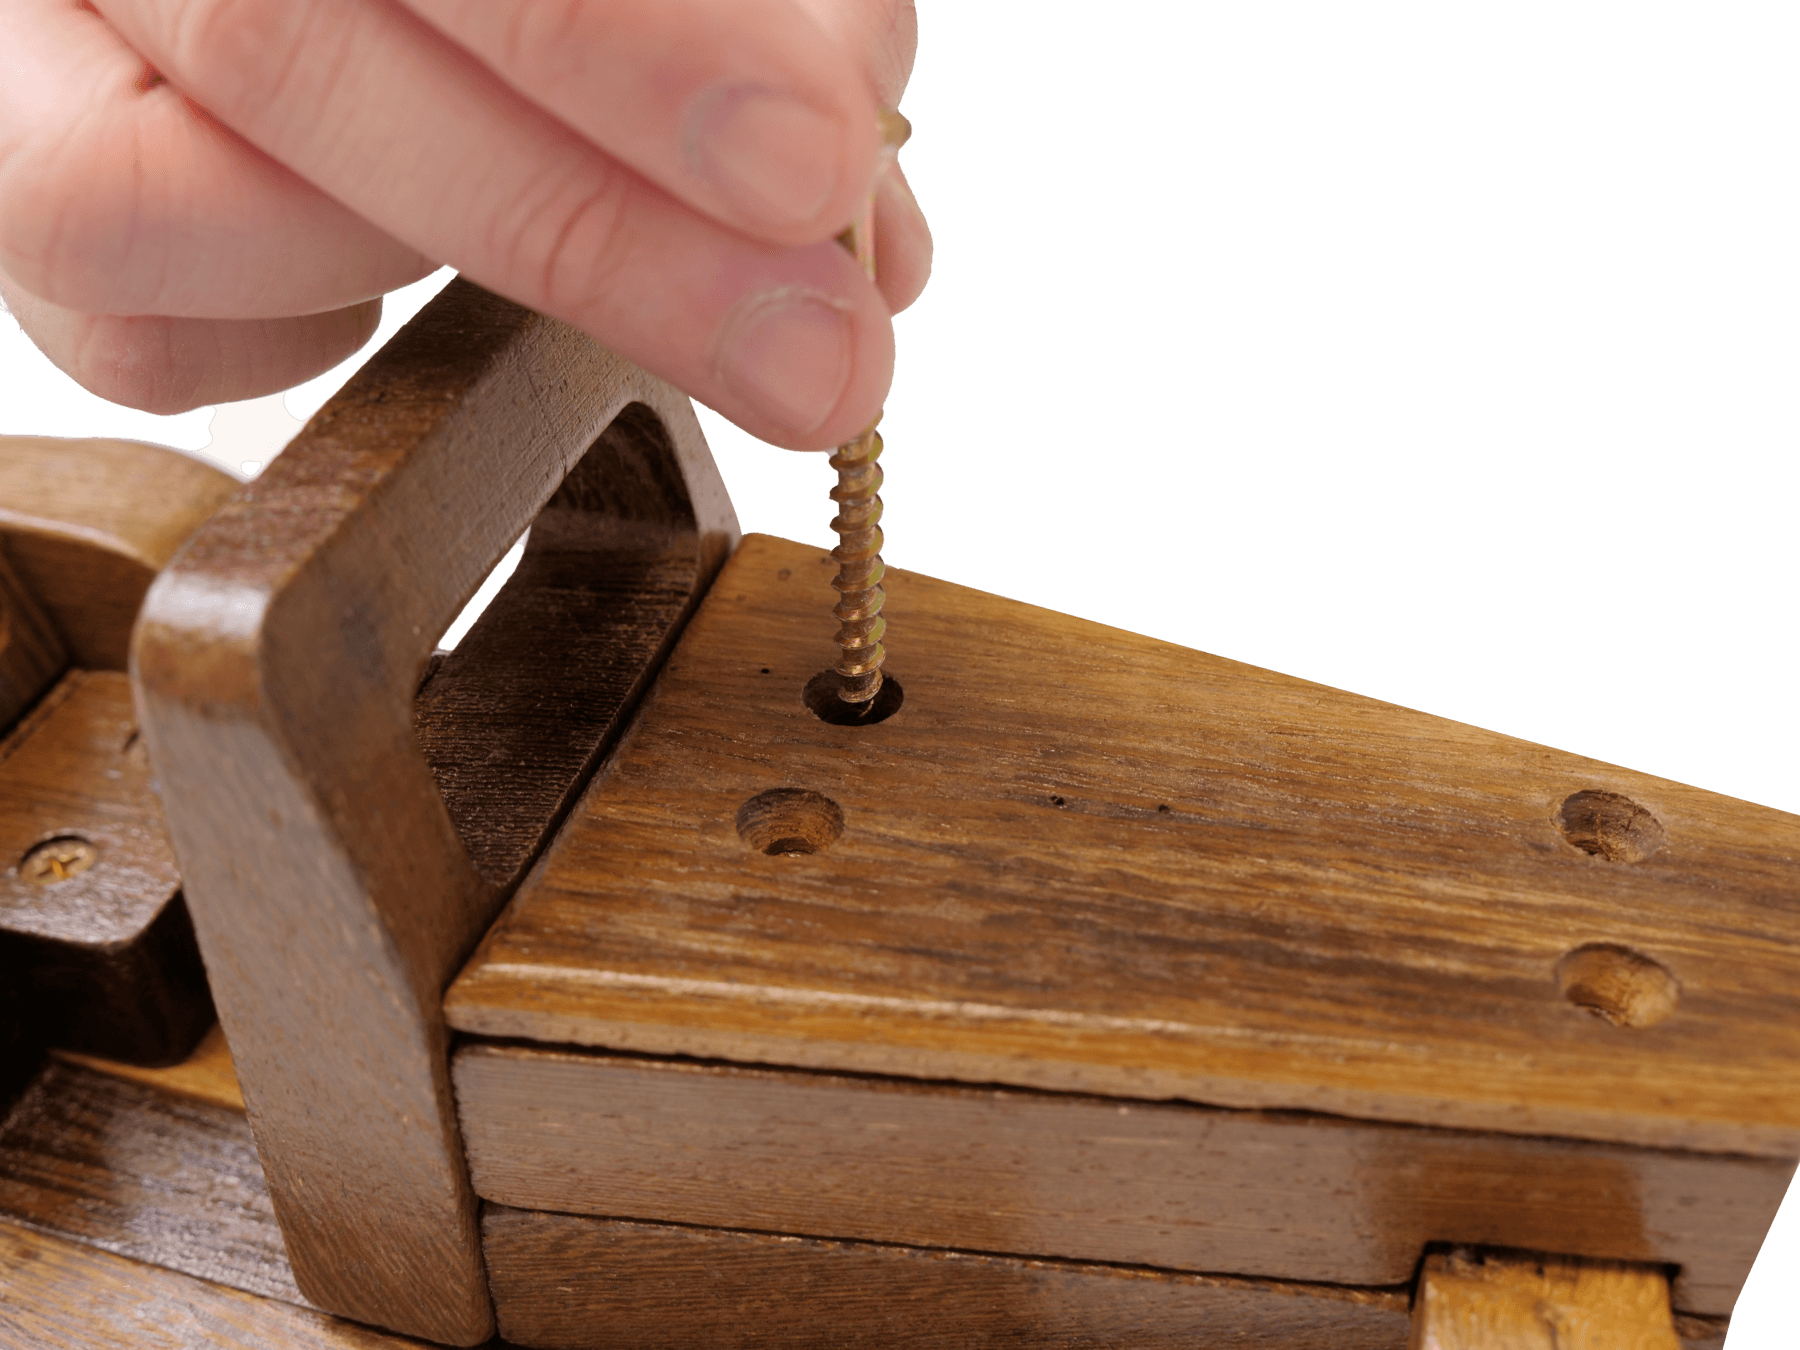
Attach the bonnet lid piece using all four of the ‘XL’ sized screws and the allen key provided.
Insert the short end of the allen key into the screw and use the long end for better grip to tighten
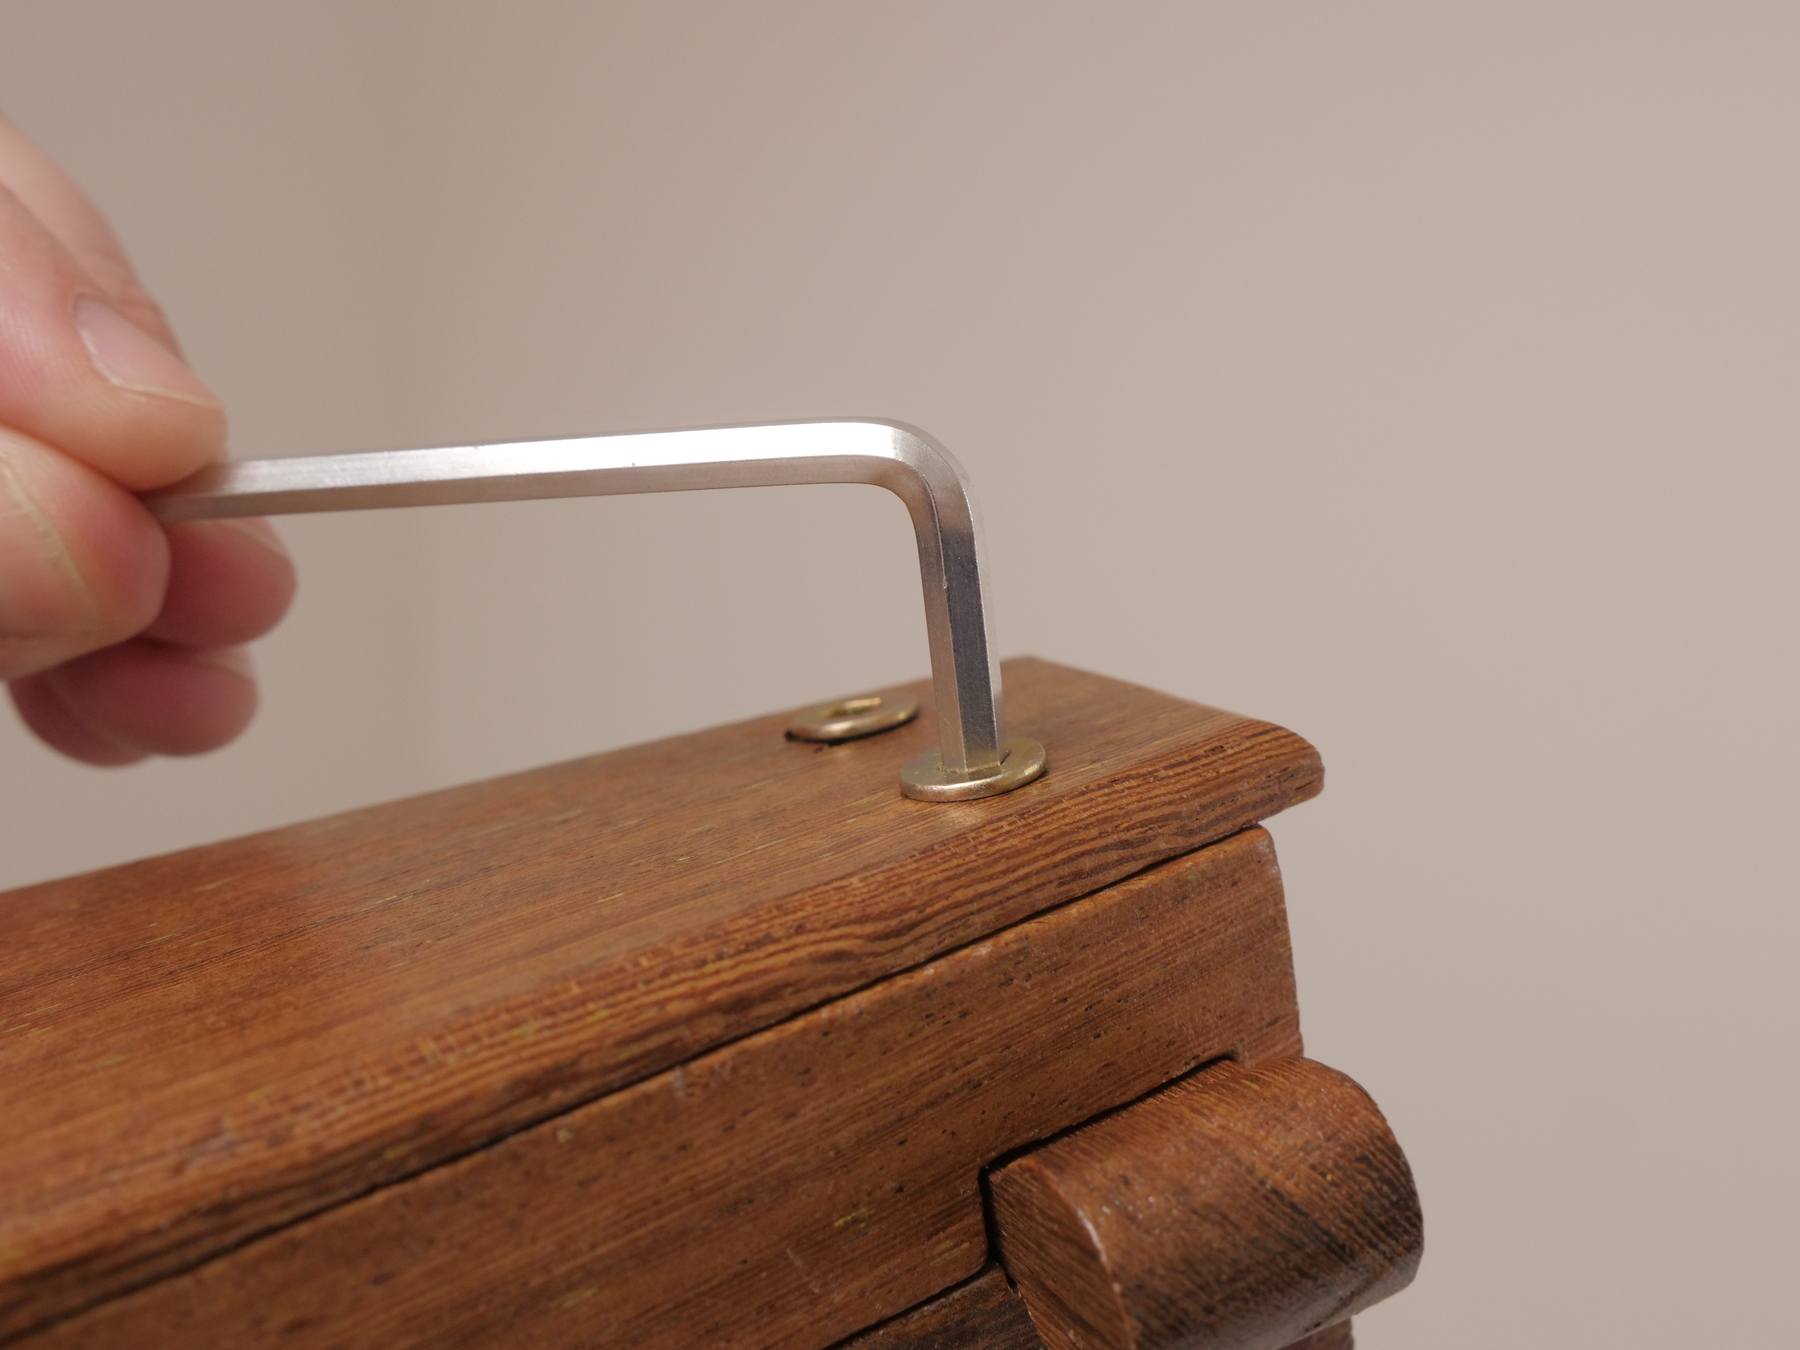
Ensure the screws sit flush with the wood.
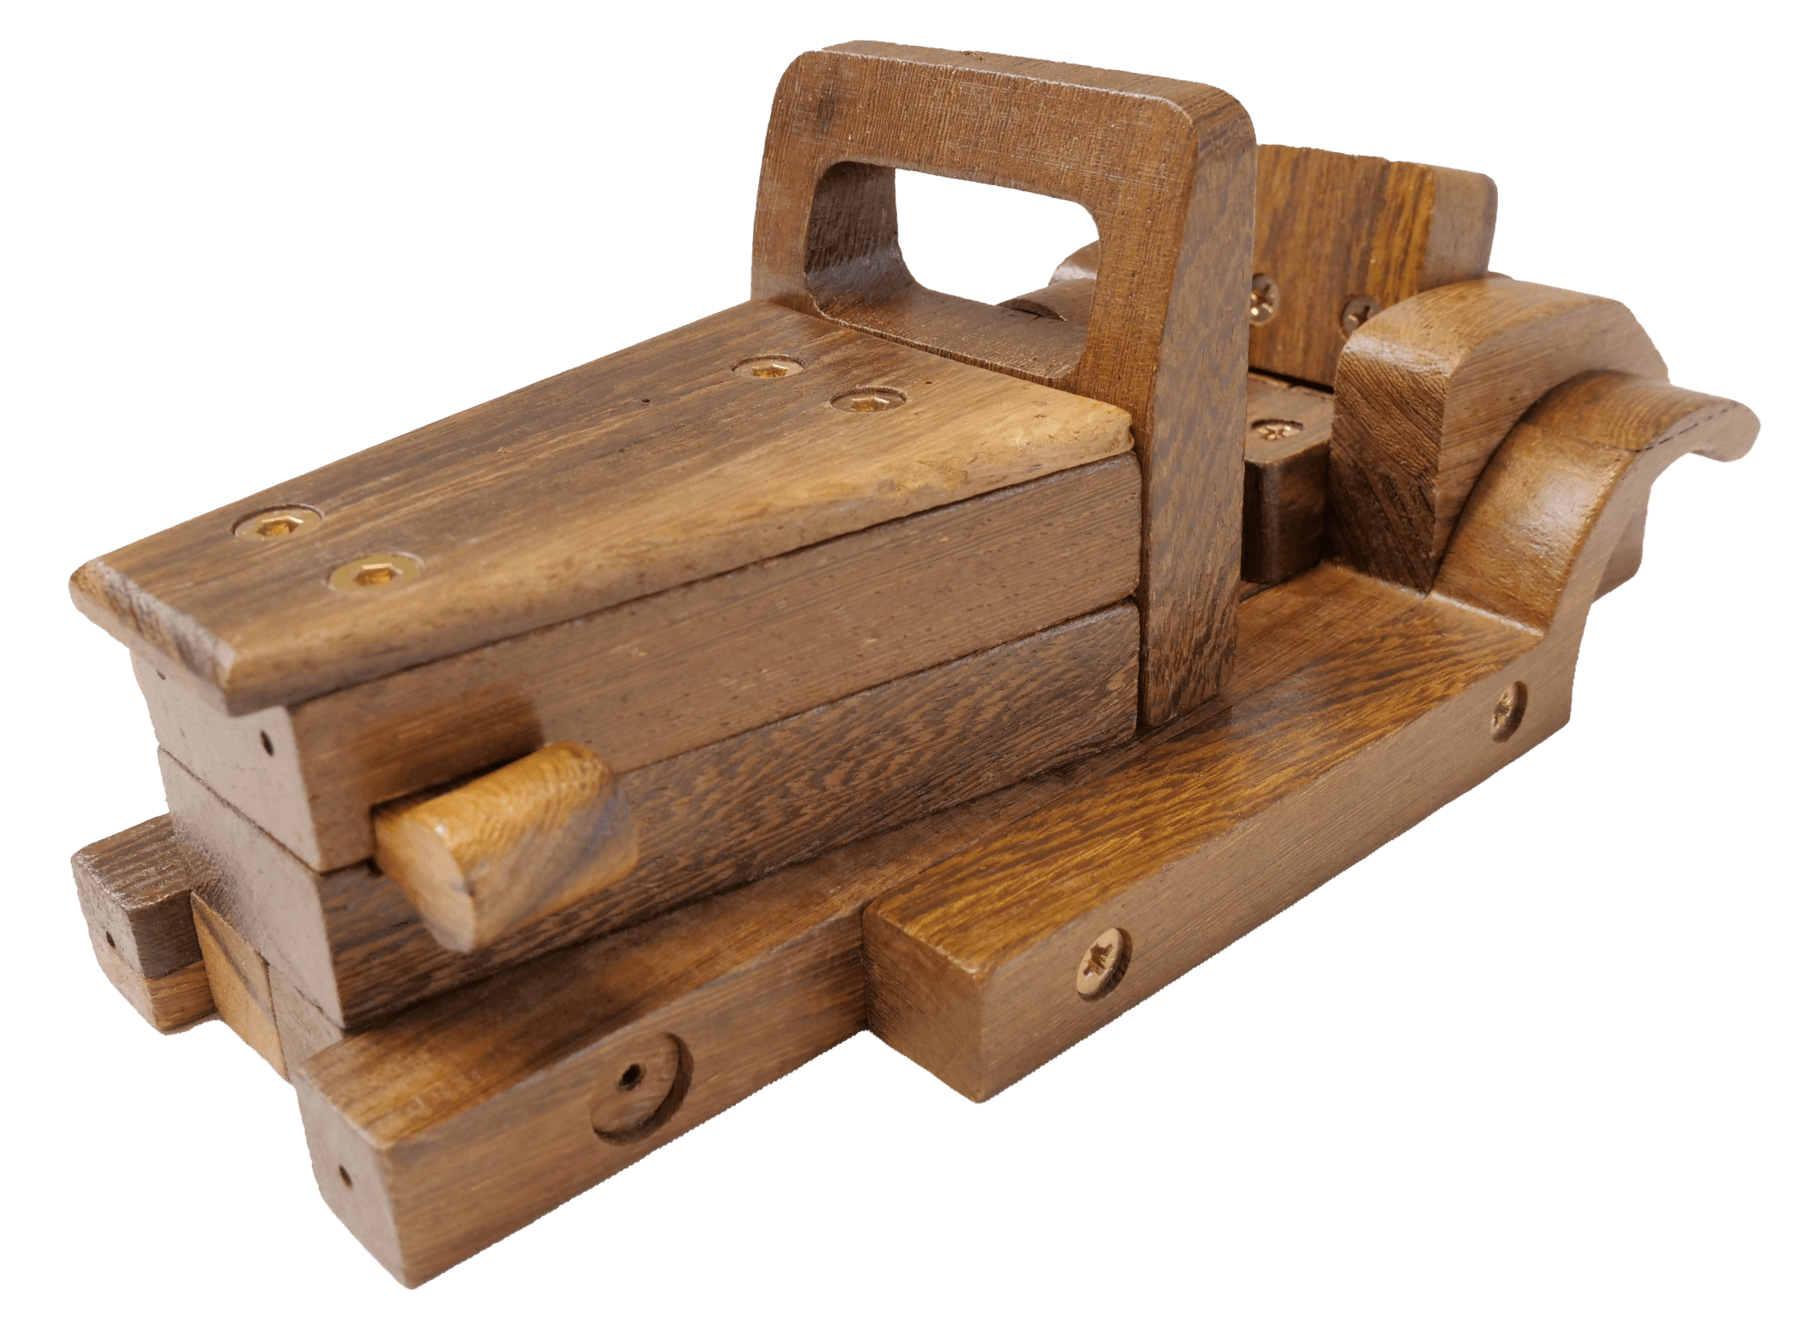
When completed, the attached bonnet will look like this:
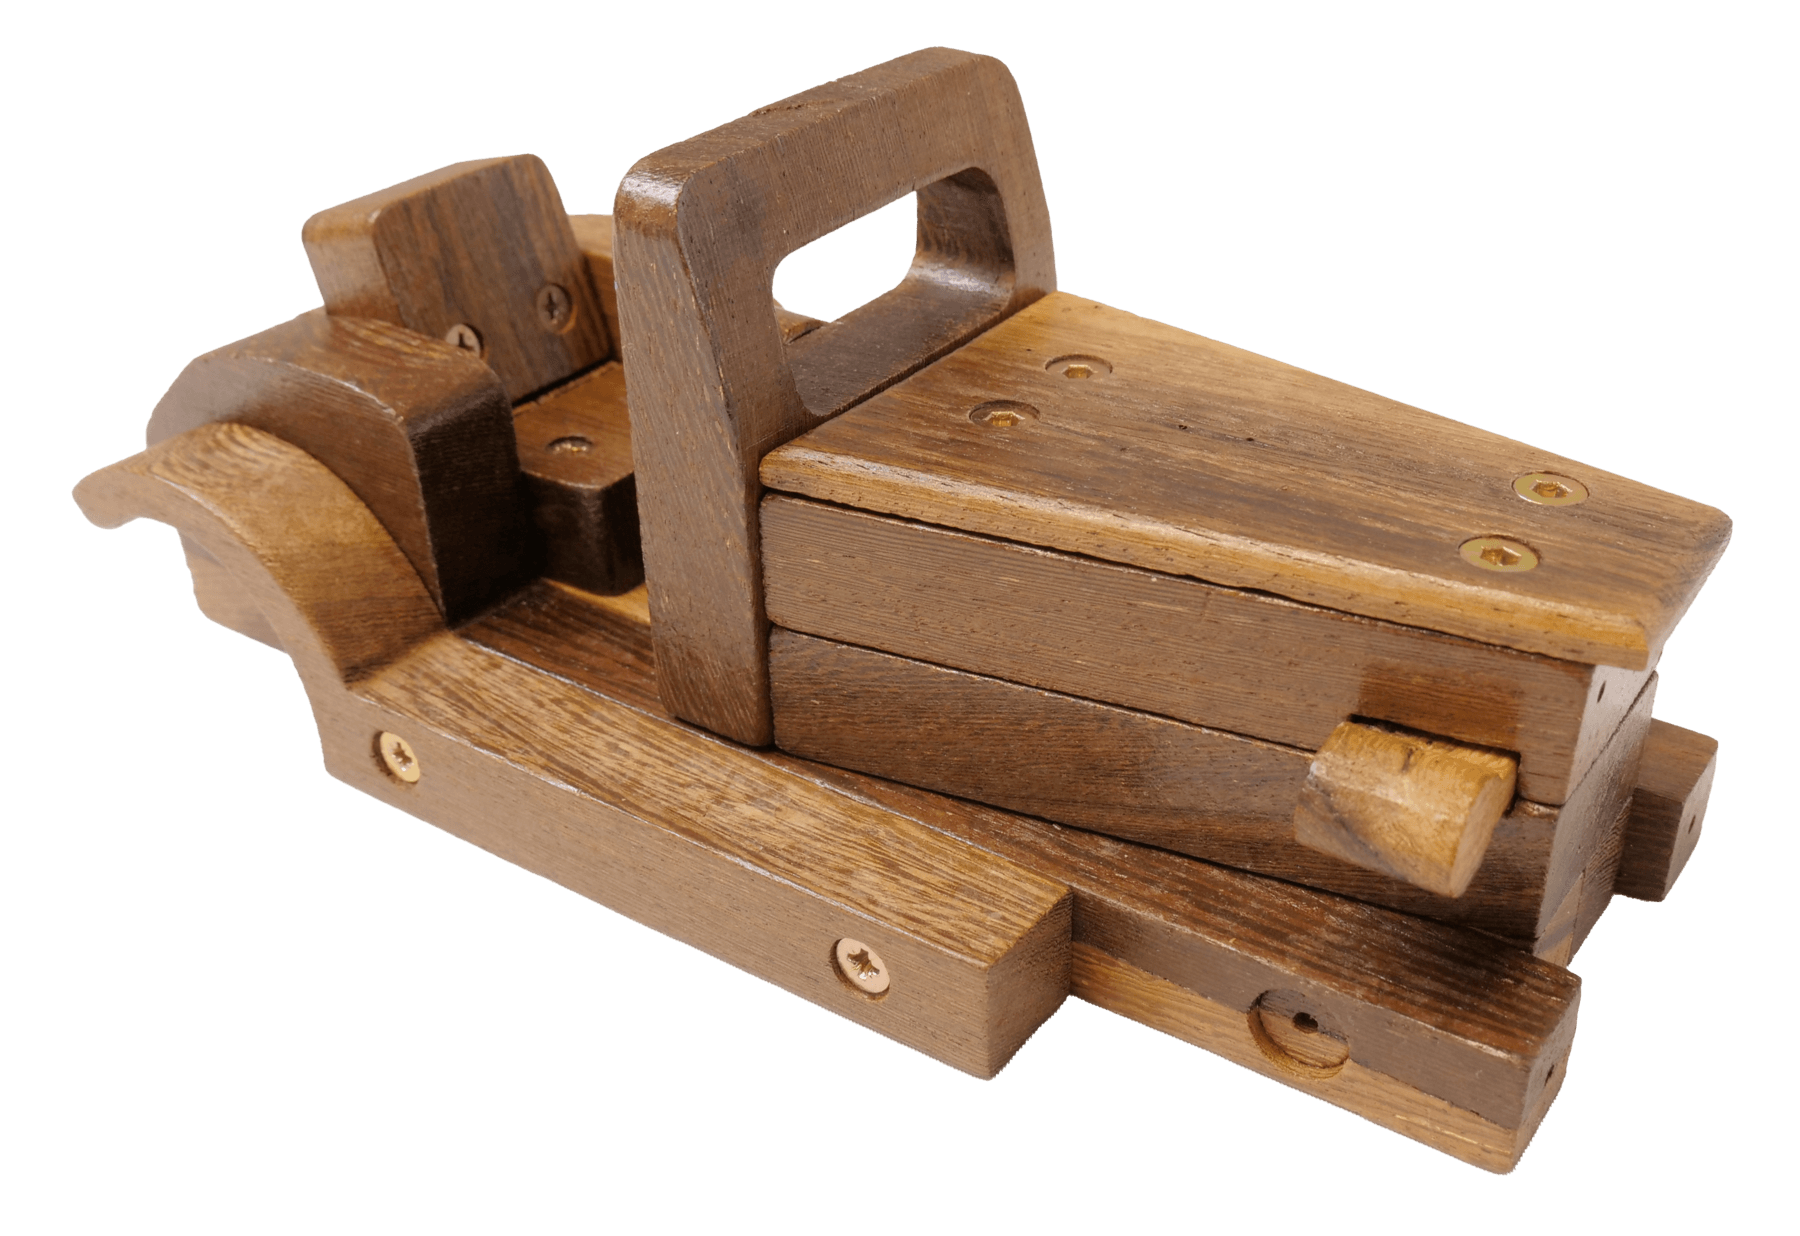
Please be aware that there will be an overhang at this stage, the gap under the bonnet lid will be filled with the grill piece at a later step.